A Mac mini desktop setup: what to put on screen and what to hide
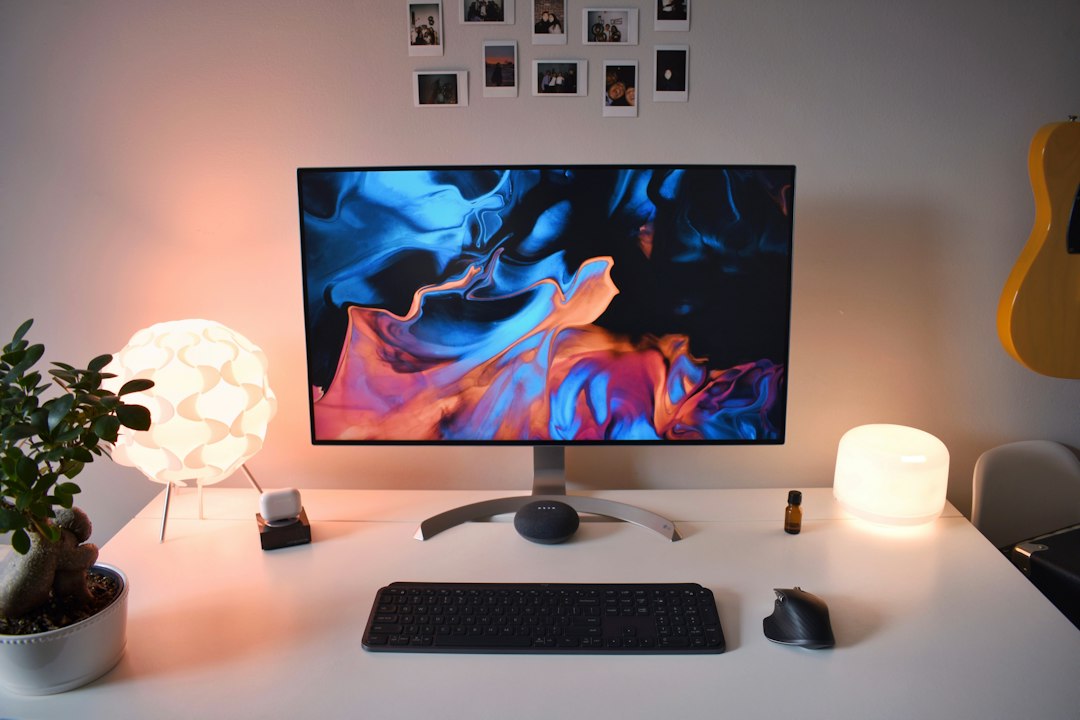
Search for a Mac mini desktop setup and the results are photographs. Desk mats, wooden monitor risers, a lamp behind the display, a hub that matches the aluminium. All of it is real furniture and none of it answers the question that actually comes up on day two, which is what the screen should look like once everything is plugged in.
The Mac mini is the one Mac that makes every screen decision explicit. There is no built-in display to fall back on, no notch taking the middle of the menu bar, and no battery item occupying space at the top right. Whatever appears on screen is there because it was connected or installed, which makes this the easiest Mac to set up deliberately and the easiest one to let sprawl.
What the box decides before the desk does
The current Mac mini ships with two chips, and the difference between them is not only speed. It changes how many displays can hang off the machine and how they can be wired.
| M6 | M5 Pro | |
|---|---|---|
| Displays supported | Up to three, over Thunderbolt and HDMI | Up to three, over any combination of Thunderbolt and HDMI |
| Over a single Thunderbolt port | Up to two displays | Up to three displays |
| Port generation | Thunderbolt 4, up to 40Gb/s | Thunderbolt 5, up to 120Gb/s |
| DisplayPort speeds | Native DisplayPort 1.4 | Native DisplayPort 2.1 |
| Weight | 1.5 pounds | 1.6 pounds |
Apple's own specification for the higher configuration is worth reading closely if the desk plan involves one cable to a dock.
Supports up to three external displays over a single Thunderbolt port Source: apple.com, read September 28, 2026
Both models are the same five by five inches, two inches tall. The port layout matters more than the volume for desk planning, because it splits across two faces. The front carries two USB-C ports and a 3.5 mm headphone jack. The back carries Ethernet, HDMI, and three Thunderbolt ports. That front pair is the reason a Mac mini does not need to be pulled forward for a card reader or a pair of wired headphones, and the reason that hiding the machine behind the display is a reasonable plan rather than a daily annoyance.
Anyone specifying displays should check the machine rather than a review. Apple's instruction is to open System Settings, click Help in the menu bar, choose the Mac's own specifications page, and read the Display Support section, which states exactly what the configuration in front of you can drive.
When a display does not appear
A Mac mini setup fails in a way a laptop setup cannot, because there is no fallback screen to read the error on. The order Apple gives for working through it is worth following rather than improvising, and it starts before anything is plugged in: identify the video ports on the machine, check how many displays the configuration supports, then confirm the cables match.
The recovery step is the one almost nobody finds unaided, because the button it involves is invisible until a modifier key is held.
Press and hold the Option key to make the Detect Displays button appear in place of the Night Shift button, then click Detect Displays. Source: support.apple.com, read September 28, 2026
If that does not find the monitor, the rest of Apple's list is mechanical: unplug and replug the display, confirm it is switched on, confirm the cable is in the right port and is the right cable, confirm the adapter is the right adapter, and put the Mac to sleep and wake it. Only after that is it worth suspecting the limits of the chip.
There is one trap specific to hubs and docks. A dock that advertises a number of displays is describing what the dock can carry, not what the Mac can accept, and the two figures are unrelated. A Mac mini on the M6 configuration accepts up to two displays over a single Thunderbolt port no matter what is on the other end of the cable. Dock software also tends to install its own status item, which is the second cost of the single cable plan and the one nobody budgets for.
Which display carries the menu bar
On a laptop the question never comes up, because the built-in screen is the main display until someone changes it. On a Mac mini with two monitors, nothing is the main display by default in any meaningful sense, and the menu bar lands somewhere that may not be where the work happens.
You can extend your desktop across two or more displays, and choose which display shows the Finder and application menu. Source: support.apple.com, read September 28, 2026
The control is in Displays settings. Selecting a display and opening the Use as pop-up menu gives the choice of extending, mirroring, or acting as the main display. The Arrange button next to it does two separate jobs at once.
Arrange the position of the displays, mirror their content, or relocate the position of the menu bar. Source: support.apple.com, read September 28, 2026
There is one behaviour specific to machines with no screen of their own, and it catches people out during the first hour.
If you're using a device with no built-in display, such as a Mac mini or Mac Studio, you must have more than one display connected to see these options. Source: support.apple.com, read September 28, 2026
With one monitor attached, the Arrange button and the Use as menu are simply absent. Nothing is broken. There is only one display, so there is nothing to arrange.
The strip at the top fills differently on a desktop
A laptop menu bar is mostly about the battery. A desktop menu bar is mostly about hardware that is permanently attached, and the list is longer than most people expect before they count it.
A Mac mini setup typically collects status items for the dock or hub, a display manager if more monitors are driven than the chip supports natively, an audio device switcher if there is an interface or a set of monitors with their own volume, a backup or network storage client, a screen capture or recording tool, and a VPN. None of those exist on a fresh laptop and all of them install a status item without asking.
Two system items also behave differently here. Battery does not appear at all, since there is no battery, which frees one slot. Display and Sound become far more useful than they are on a laptop, because brightness and output device now change between physical devices rather than one built-in pair. Both are in the Menu Bar pane of System Settings, and both offer Show When Active alongside Always Show.
| Item | On a laptop | On a Mac mini |
|---|---|---|
| Battery | Usually kept, with percentage | Not present |
| Display | Rarely needed | Worth keeping, brightness lives on separate hardware |
| Sound | Occasionally needed | Worth keeping, output switches between real devices |
| Screen Mirroring | Occasional | Frequent if a TV or second desk is in play |
| Dock or hub utility | Rare | Common, and often not removable from the app |
That last row is the one that grows. Hub and dock software, display managers, and capture utilities tend to treat their status item as the main interface, so removing it is not always offered. Those are exactly the items a menu bar organizer is for, and the features page covers what happens to them once they are moved out of the visible strip.
The desktop itself, not just the bar
A Mac mini is usually bought to sit under a large display, and a large display makes desktop clutter both more visible and more tempting. Three settings in Desktop and Dock decide how much of it is on show.
Show Items has two switches, one for the desktop and one for Stage Manager, and turning the desktop one off hides everything on the desktop until the desktop is clicked. Show Desktop decides whether clicking the wallpaper moves every window aside, with Always on Wallpaper Click or Only in Stage Manager on Click. Widgets sit on the desktop as well, which on a 27 inch panel is a reasonable place for a calendar and on a 49 inch panel becomes a second workspace if nobody is watching.
Stage Manager has a prerequisite that is easy to miss and is the usual reason it appears greyed out.
This option must be turned on if you want to use apps in Split View on your other displays or use Stage Manager. Source: support.apple.com, read September 28, 2026
The option in question is Displays have separate Spaces, in the Mission Control section of the same pane.
Two displays change the layout more than once
The awkward part of a multiple monitor Mac mini is not the first setup. It is that the geometry changes whenever a display is switched off, unplugged, or put to sleep, and everything positioned relative to the screen edges moves with it.
Set up separate spaces for each display (if you use Spaces and have multiple displays). When this option is turned on, the Dock is available on all displays; when it's turned off, the Dock appears only on the main display. Source: support.apple.com, read September 28, 2026
The menu bar follows the same logic as the Dock in the sense that there is one of it, on the main display. Hunting for an icon on the second screen with that setting off will always fail.
macOS 27 improved the part that used to cause the most re-arranging.
Now you can get higher resolutions on ultrawide displays, such as 5K at 120Hz. And your display arrangements stay exactly as you left them, for a seamless experience every time you plug in. Source: apple.com, read September 28, 2026
Arrangements persisting is a real improvement. What does not persist is the composition of the menu bar, because the amount of width available to status items depends on the main display's resolution and scaling, and a smaller main display simply draws fewer of them. A bar that fits on a 5K panel can overflow the moment the setup drops to a single 1440p monitor, and the icons that vanish are the ones on the left of the group. Anyone who regularly works in both configurations should decide the priority order once, with Command and drag, rather than rediscovering it each time. Tools that store a layout per display setup exist for the same reason, and the comparison page sets out which ones do it.
What to set up first
Decide the main display before anything else, in Displays settings, then turn on Displays have separate Spaces if there are two monitors. After that, open Menu Bar settings and go through the list once with the hardware in mind, keeping Display and Sound and dropping anything that reports on a battery that does not exist. If the strip is still crowded after that, the shortage is width rather than choices, and a tool such as Koffret is what a settings pane cannot replace.
Frequently asked questions
How many monitors will a Mac mini actually drive?
Both current configurations support up to three external displays, but the wiring differs. The M6 supports up to two displays over a single Thunderbolt port, while the M5 Pro supports up to three over a single Thunderbolt port. The exact resolutions and refresh rates are listed in Apple's specifications, and the machine in front of you reports its own limits under Display Support in its specifications page.
Why is the Arrange button missing in Displays settings?
Because only one display is connected. On a Mac with no built-in screen, the arrangement and Use as options appear only when more than one display is attached, since there is nothing to arrange otherwise. Connecting a second monitor makes both controls appear.
Can the menu bar appear on both monitors?
There is one menu bar, and it belongs to the main display. Which display that is can be changed in Displays settings using the Use as pop-up menu, or by relocating the bar in the Arrange view. Turning on Displays have separate Spaces gives each display its own Dock and spaces, which is the closest thing to independent screens that macOS offers.
Should the Mac mini go behind the display or on the desk?
Either works, because the ports are split across two faces. The front carries two USB-C ports and a headphone jack, so cables that get plugged and unplugged daily stay reachable even when the machine is hidden, while Ethernet, HDMI, and the three Thunderbolt ports on the back can stay permanently connected.
Why does the menu bar look full on a Mac mini with no battery icon?
Because a permanently connected setup collects status items that a laptop never installs: hub and dock software, display managers, audio switchers, network storage clients, capture tools. Each one adds width, and several of them provide no way to remove their icon because it is the app's main interface.